The Throw Food For Baddies beginner guide is the first-session order from the experience description. Train Throwing Strength on the pull-up bars, throw food, nail a PERFECT throw for extra power, then buy better food when you want rarer Baddies. A server holds at most 5 players. Each module below pairs the action with the result the description actually states.
1Train on pull-up bars
2PERFECT throw
3Farther flight
4Better food
1
Train on the pull-up bars
Action
Find a pull-up bar and use it before you chase a longer landing. The description names the bars as the way Throwing Strength goes up, so the first useful station is the bar.
Expected result
Throwing Strength is higher than when you walked up. No rep count, cooldown, bar price, or stat number is published. You only have the direction: the bars raise it.
Throw food and hit the PERFECT throw on that cast. The description puts that throw next to throwing as far as you can.
Expected result
A PERFECT throw grants extra power on top of the Throwing Strength you already trained. No timing window, bonus percent, button name, or second prize for the same cast is published.
Send the food farther through the area you are standing in. Distance is the part of the flight the description ties to luck.
Expected result
Luck climbs the farther the food flies through each area. A longer throw also reaches new areas that hold rarer Baddies. Area names are absent, and no luck percent per stud is printed.
Spend the money you earn on better food once a throw can reach the Baddies you want. The description gives that purchase one job.
Expected result
Better food is how you attract rarer Baddies. Food names and prices are absent from the description, so no menu is printed on this briefing. Store thumbnails show a croissant, a banana, and a key-shaped object in flight. Those scenes are not a price list.
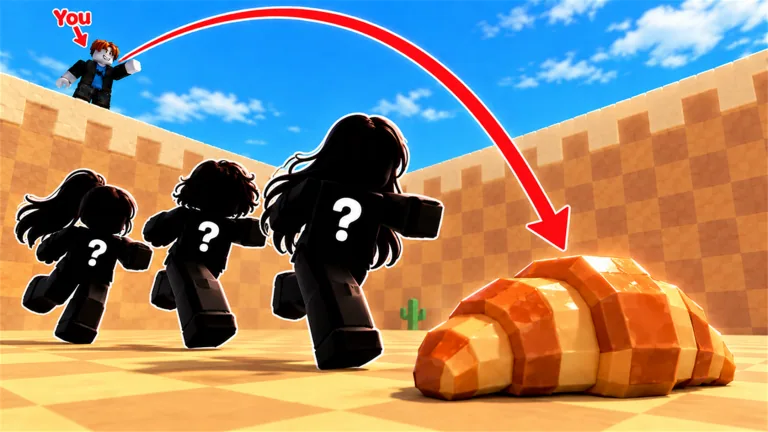
Training thumbnail: a player marked You throws from a tan wall toward a croissant. Three question-mark figures run at the food. The marks match the choice not to name individual Baddies.
What the throw is for
You throw so you can attract and collect Baddies. The description runs that collection from Common all the way to Exotic. Big, Huge, and Colossal pulls earn more Money/s than a smaller pull. Those Baddies keep paying while you are offline, which is why a short session still changes your money after you leave.
Each friend who is actually in the session adds 15% income. Fusing Baddies produces mutations, and the mutation names are not published. The boards you can climb are Best Pull, Most Baddies, and Top Money/s. Rarity, size, fusion, and offline pay are split out on the Baddies page so the first session can stay on the throw order.
Shop checks during the session
Two codes are active while you learn the loop. The RELEASE code is listed as 1 Lucky Throw. The RAINBOW code is listed as 1 Rainbow Egg. Both are typed in the Shop on the left, in the box labeled Enter code here, and confirmed with Redeem. They are not a line in the experience description.
Three passes currently have a Robux price. Galaxy Donut costs 299 Robux. 2x Training Power costs 199 Robux. Double Money costs 199 Robux. Six further passes are on the experience and are not for sale, including the gift copies and the Secret Egg packs. Display descriptions on the pass listing are empty, so judge a pass by its name and its price.
Gaps that change planning
Area names, food names, food prices, and mutation names are the gaps. You can still run the session without them: train, throw for a PERFECT cast, push distance for luck and a new area, then buy better food. A snack or a zone named somewhere else still has to show up in the live experience before you spend on it.
The thumbnail on this page is a store scene, not a labeled drill. The player stands on the wall, the arc ends on a croissant, and the chasers wear question marks. Use that as a picture of the throw. Use the four modules above as the order.
First-session order
Four actions and the result each one is allowed to claim.